
How to Easily Install a Bathroom Vanity
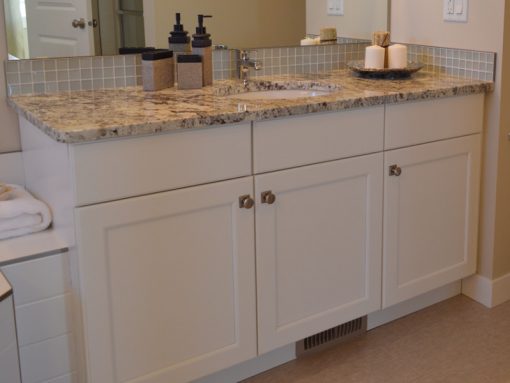
Almost every bathroom renovation requires removing your old vanity and installing a new one. Whether you choose to replace your old fixture with a vessel style, pedestal, or cabinet style vanity, this tutorial will give you some great insights into the project.
Before You Start…
Make sure you have time – This project takes about half a day. Before you start, set aside sufficient time to handle the project, adding additional time in case there are any delays.
Bringing the vanity home – Handle your new vanity with care. Be careful when you open the box. The countertop with the sink will most often be separate from the cabinet body. There may also be a separate backsplash, depending on the style you chose. Place the countertop and sink upside down on the carpet or other soft surfaces to protect the finish. Difficulty level – Installing a new vanity is rated average difficulty. What you’ll need – To install a new vanity, you will need a power drill to drill holes, and a power screwdriver, an electronic stud finder, a screwdriver, a level, a saw, a small profile gauge, wood shims, a pencil, tape measure, and silicone or caulk. Turn off the water! – Before you start on any plumbing-related projects, always switch off the water at the main supply.
Removing the Old Vanity
1. Once you have switched off the water supply, you will need to disconnect the supply lines. Have a bucket handy to catch any drips from the p-trap or the supply lines.
2. Remove the caulk between the wall and the old vanity using a utility knife before carefully removing the countertop to avoid damaging the walls.
3. Loosen the screws that bolt the unit to the wall, and remove them, and then pull the old vanity away from the wall and out of your way. Tip: Apply firm, steady pressure when removing screws, as this will help prevent stripping the screws. Be sure to hold the driver straight.
Installing Your New Bathroom Vanity
Now that you have removed the old vanity, you’re almost ready to install the new unit, but first, remove any leftover caulk before following the remaining steps in this tutorial.
1. Find the wall studs, and mark it slightly higher than the top of your new vanity. Also, mark the placements of the screw holes for the new vanity before setting it in place. Tip: It is crucial for the new vanity to be flush with the wall. You can use a level and shims to achieve this.
2. If you’re installing a new faucet, install it as per the manufacturer’s instructions. Not only will it update the appearance of the room, but the fact that the top of the vanity is separated, will make the job faster, and you won’t have to crouch under the sink.
3. Secure the vanity to the wall using screws. Again, exert firm, even pressure on the screws.
4. Reconnect the plumbing to your vanity and take advantage of the opportunity to replace old elements, such as the p-trap.
Tip: Teflon tape will ensure that the connections are tighter and more secure.
5. Finally, apply a thin layer of silicone or caulk around the edges of the countertop. Be careful not to smudge, and use a damp rag or clean fingertip to smooth your application. There you have it – a bathroom makeover in half a day! We do not recommend you tackle this project unless you are a DIY expert as it does require a certain amount of skill and know-how. If you want a new bathroom but don’t have the experience, get in touch with Ridgeway Plumbing today.


