How to Replace PEX Piping
PEX water pipes are durable and easy to install, repair or replace, when the time comes to do that. When your water supply lines spring a leak, you can easily repair it, using our instructions below, to save money. These instructions apply to PEX water pipes, as others may require different processes, so be sure to identify the type of pipe before you continue with the repairs. You don’t want to try bend copper or PVC supply lines.
How Do I Know It is PEX Piping?
There are three identifying features to PEX piping:
- It is easy to identify PEX pipes by the information printed on the side. The information will include the size of the pipe, and it will say “PEX” on there, too.
- PEX piping is available in solid red or solid white. White is for cold water, and red is for hot water lines.
- PEX piping is easily bent and flexible.
Once you have identified the PEX pipe, go ahead and follow our master plumber’s instructions below to repair your water lines.
What you’ll need:
- a flashlight
- safety goggles
- a tape measure
- a 1″ PVC pipe cutter
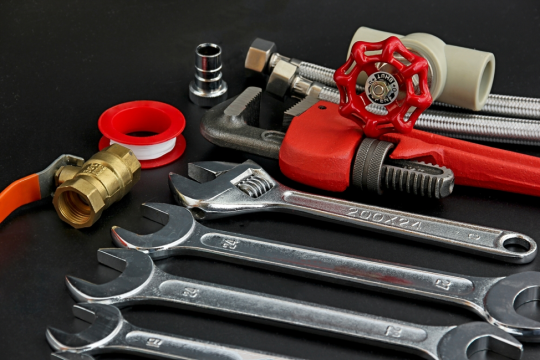
- a PEX cinch clamp tool – PEX tubing in the correct size – replacement components (brass or plastic – brass is a bit more expensive, but last much longer)
Step 1: Shut off the mains
As always, before you embark on a plumbing adventure, be sure to shut off the mains, and release the water pressure in the line you’re working on by turning on the faucet.
Don’t know how to do that? Check out this tutorial.
Step 2: Remove the old tubing
Cut the PEX piping directly below the leaking fitting. Do this by holding the pipe cutter perpendicular (or at 90 degrees) to the pipe you’re trying to cut.
You will have to remove the other end of the tubing too, especially if it is screwed into the bottom of your faucet. Disconnect it by turning it in a counterclockwise direction.
Step 3: Measure & cut the new piping
Use the old section of piping as a guide to measure and cut the correct length of the new piping. A permanent marker works well in marking where you want to make the cut, and you can use a pipe cutter to cut it.
Step 4: Attach the fittings
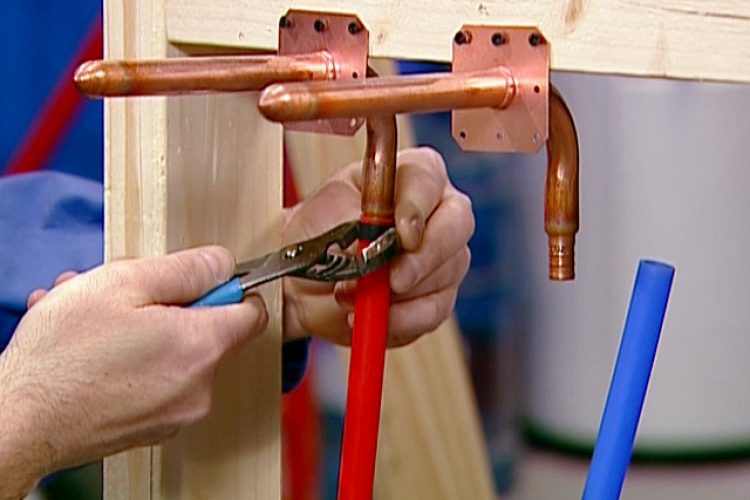
Set out the parts in the order in which you will be assembling them, starting with the FPT swivel which you will be pressing into the end of the PEX tubing, ensuring that it fits tightly. There should be no gaps. The gap on the end of the cinch tool should be placed over the raised tab on the pinch clamp. Now place the pinch clamp 1/8″ below the end of your PEX tube and squeeze it multiple times with the cinch tool until the LED light is illuminated.
Slip the second clamp over the free end of your PEX tube and press the ball valve onto the free end of the tube.
Step 5: Position the new pipe
Slide a pinch clamp onto the old PEX tubing, then slide the free end of your ball valve fitting in place. Use the cinch clamp again to secure everything in place.
There you have it! You have just replaced a broken piece of PEX tubing!
Not so keen to take on this project? Give Ridgeway Mechanical a call. Our PEX piping experts will help you in no time.

